I've been scarce again because while I've been making progress, nothing has been tangibly done...until TODAY. Landscaping for this project first involved prepping the base. I first looked into gluing a bunch of traditional quarter scale lighting drawers together, but it was going to be super expensive to buy that many of them. So I ended up buying two custom monitor risers from The Paper Skiff on Etsy.

These I glued together and then glued the whole unit on top of a dollhouse turntable (I got mine from Manhattan Dollhouse). It became apparent pretty quickly that I was going to need touchup paint as I made a bit of a mess on the risers while working above them, but the seller from Etsy let me know the paint color so I could buy some for touchups.

Once everything was together it was time to drill the holes for wiring. Lacking any better tools I also used the drill to make the channels for the bulk of the wires to fit into. Because of the way I kitbashed the houses, I knew I needed the "ground" of the landscaping to be higher than the house bases, so I had to raise up the ground level. I considered using clay or trying Modroc (I think it's called) but in the end I stuck with what I know, so there is basically an entire bucket of spackling paste on top of this thing!!! This took several rounds of spackling, to ensure that everything at the right level and I'd made the right spaces for all of the buildings.


Once the spackling was down, I painted it with a layer of paint to prime it. I wish I had used different paint (I just got some cheap acrylic brown) or had used a mix of PVA and water...occasionally the paint peeled at inopportune times.
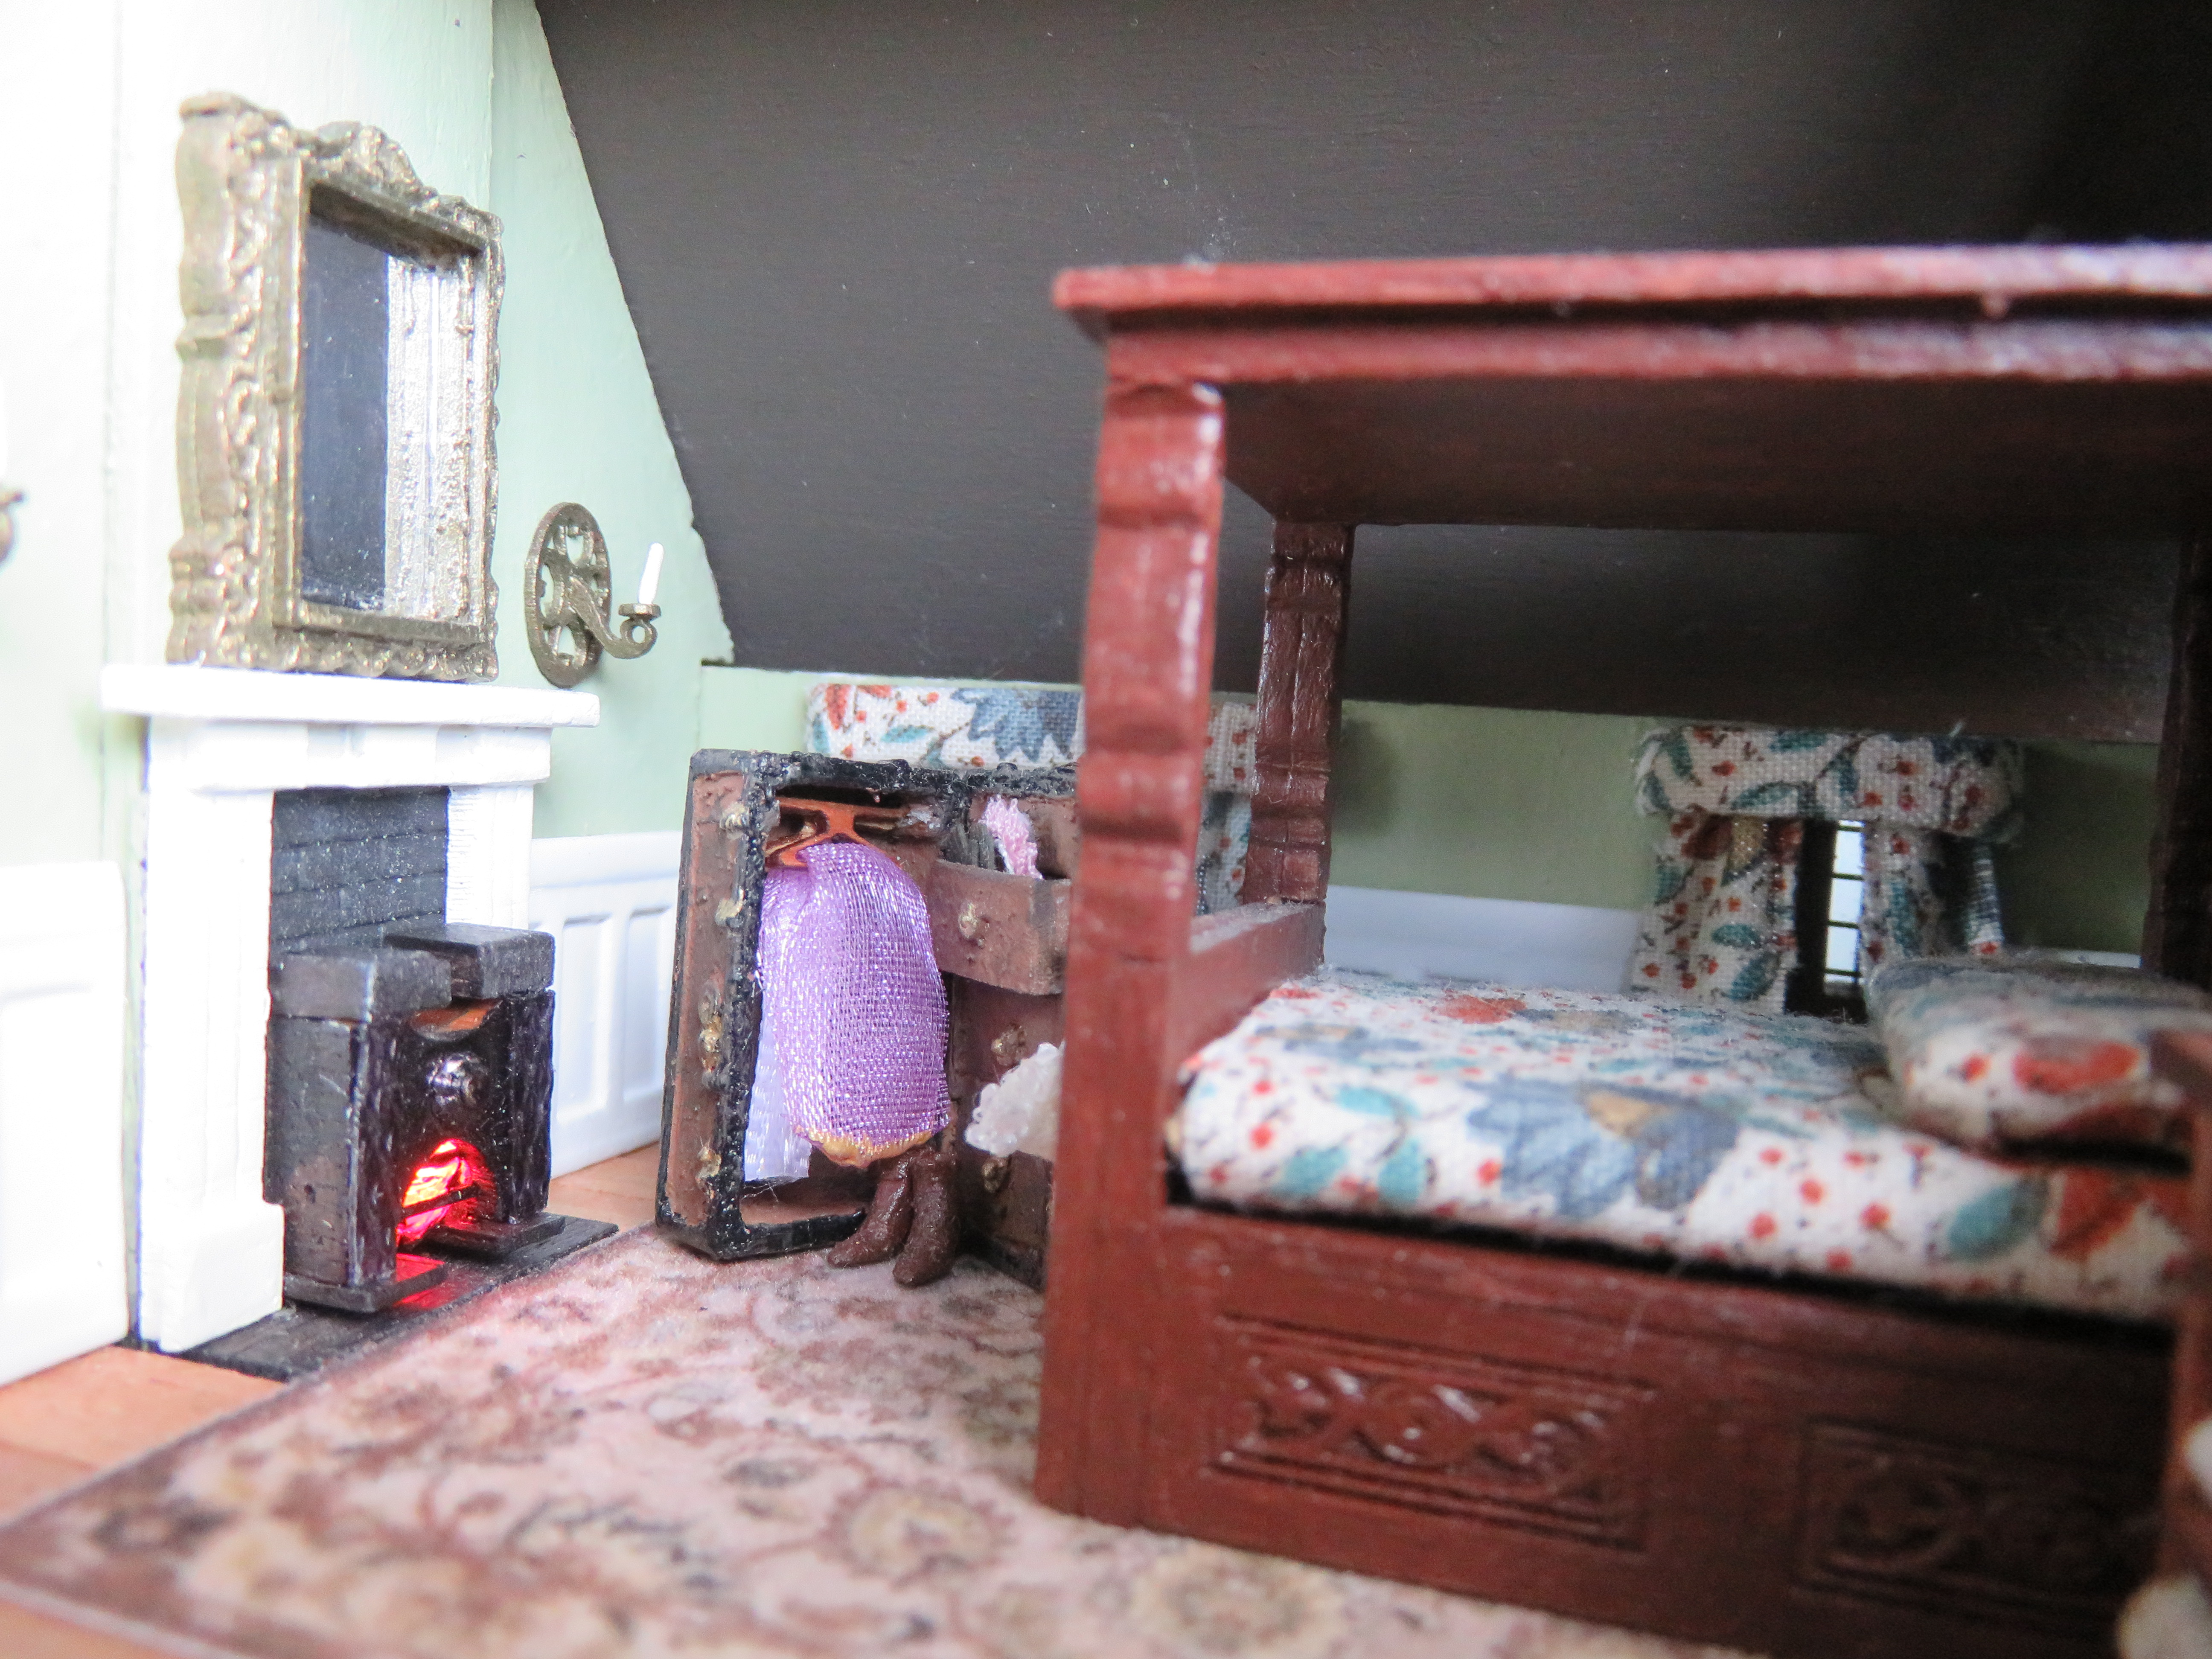
Today was finally the day where I had everything ready to go (I spent way more time trying to level out and sand the spackling paste to a smooth finish than it turns out I needed to). So I wired up my buildings. Mostly. More on that later. The Herdwick Landscapes fireplaces, candles, and especially that stove look so good lit up!


I'd started applying the gravel mix (a mix of fine and extra fine stone chippings from Petite Properties) even before I wired the buildings, but once the buildings were wired, it was time to really fill them in. I did not really have anywhere better to do this than my living room floor, so suffice to say, I now have gravel bits all over my living room floor. I'm probably going to be finding these puppies stuck to my feet for months now.
Of course after I got everything all gravelled, I realized that I'd forgotten to wire the light in the top loft of Tanglewood Hall. ARGH. I had done the gravelling lightly so that if needed in the future I could pull the houses out to hit the lighting. I had not expected that I was going to be doing that LATER THE SAME DAY. So I pulled the house out, dislodging some gravel but not too much, and started rewiring them. Unfortunately in the course of doing this I managed to cut the tips off of one of the wires, so I had to learn how to strip it (veeeeeery carefully with a lighter and then fingernails). I'm still a little traumatized by the experience but now all of the lights are working and the gravel is back in place.


And I am super chuffed with how it is looking! I've been working on this for so long it's kind of amazing to actually see a portion of it looking close to done.


I still haven't decided what direction I want the stagecoach to be going in. I don't want it to block the shop window so that makes the placement tricky. Or maybe I'll never glue it down and just move it around periodically!
I was so stoked in addition to the photos I've done a video walkthrough. This will be part 1, as there are portions of these buildings that won't be as visible once the final project is together. So I'll do part 2 whenever that's done. One thing I should also note is I've got the rest of the chandeliers in place (from Petworth Miniatures) and the carpets (from Needles N Minis) and furniture glued in, which weren't in my earlier photos. You'll see those in the video as I go around to the backs of the houses.
Comments
Post a Comment