
Little stable and laundry

I've been working away on multiple buildings, and did finally manage to complete some interiors. In addition to the larger stable, I also have another Petite Properties stable kit that includes a small storage space. I've decided to make it into a laundry and got some fantastic pieces to go into it. Most of them are from Herdwick Landscapes, with the exception of the boiler and shelves, which are Petite Properties, the larger bucket (picked up from eBay at some point, I believe) and the larger washboard, which was from S&D Models.


Strangely enough the most difficult part of this was the horse! After a good amount of success with horse painting in the large stables, I ran into huge issues with the ones I was trying to do for this. Since it is a large, open stall I figured there needed to be some reason why the horse(s) were in here and decided I'd use the mare and foal I'd picked up (again from eBay). Their colors weren't very natural so I decided I'd try to paint them bay.

Every once and awhile I run into issues with certain Petite Properties paints not having the same degree of "stickiness" and I think that was the case here. I didn't prime the horses but I hadn't primed the ones I'd painted in other colors, and didn't have any problems (and later I tried the same paint on a primed horse and it was also not sticking). So what I ended up with was a peeling mare and foal!


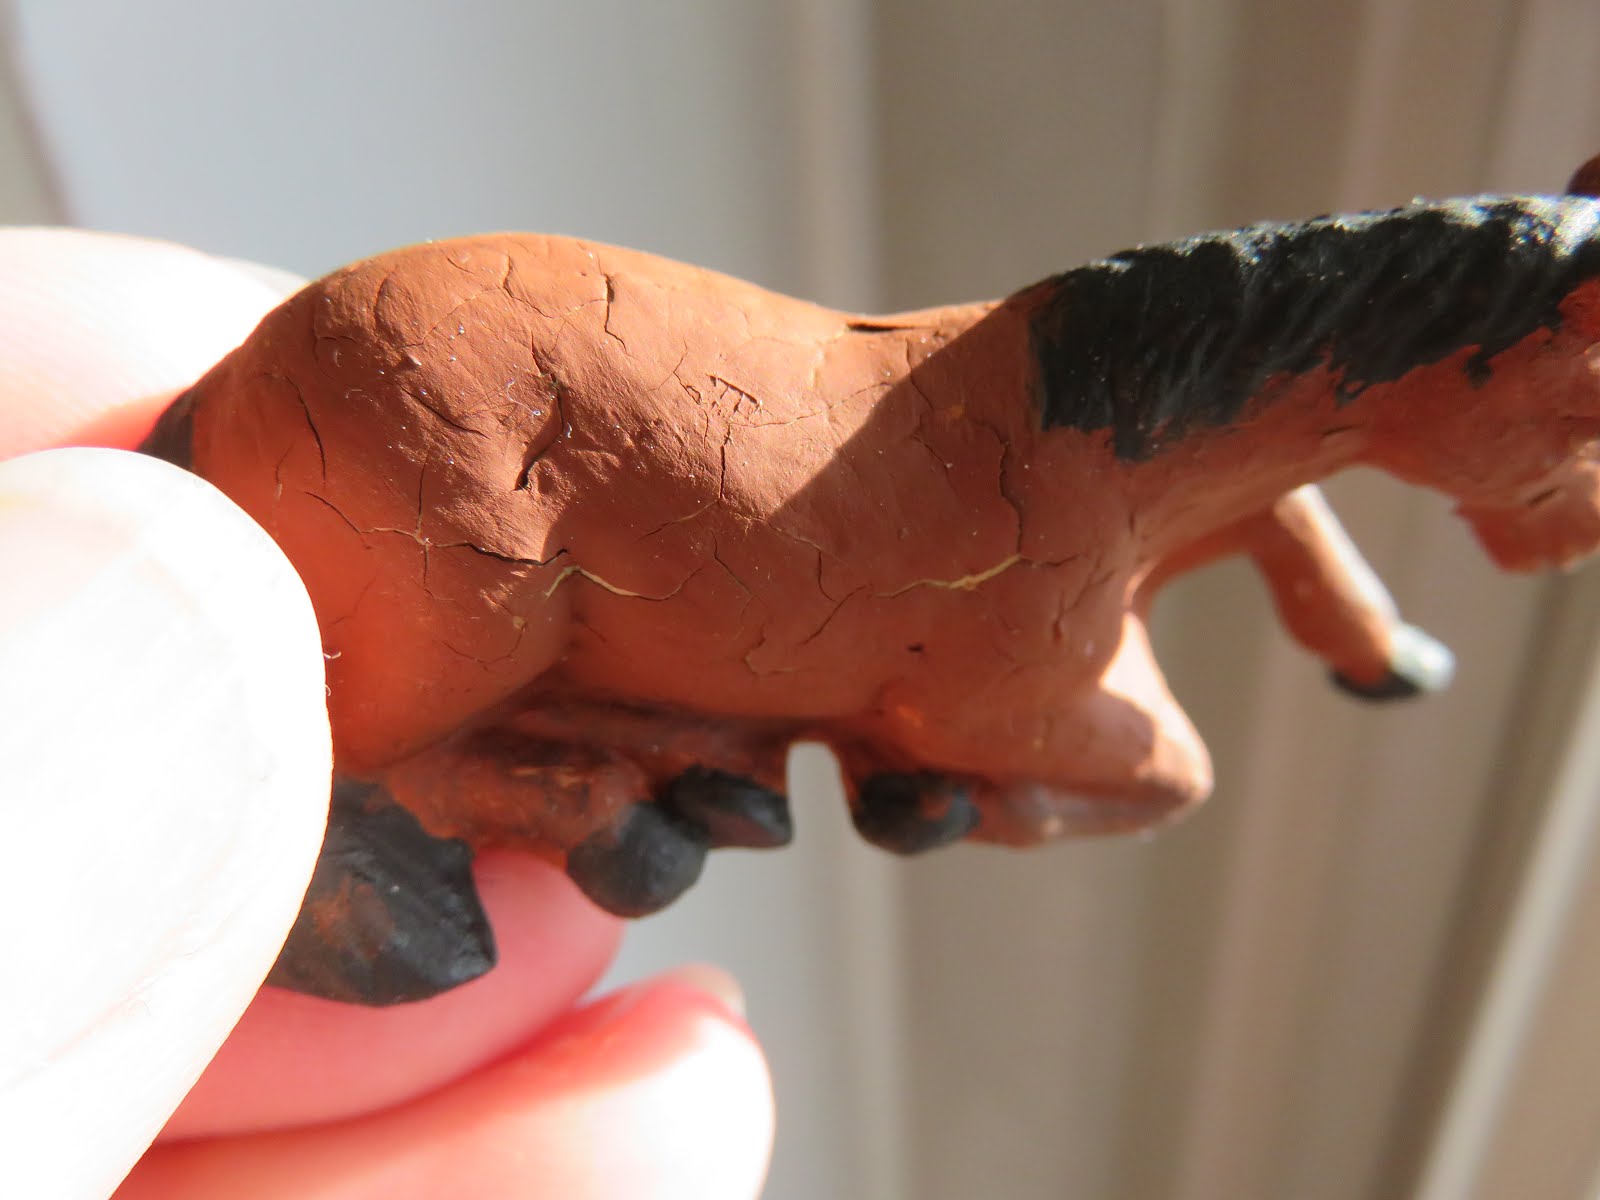
Eventually I had to declare them unsalvageable and I instead chose another horse from my set that was depicted wearing a blanket. Its base color was already good for a bay so I just painted the mane and tail black and dry brushed some black on the legs for more realism. I also dry brushed the blanket to make it look a little dirty, and then decided to call it a day on the horses!


I'm making good progress on the upstairs of the large stable but as this one was a big kit bash it's involved some trickiness, like installing this Braxton Payne fireplace in a more realistic fashion.


And I did have one big setback...I've spent a goodly amount of time assembling an old Tally-Ho Stagecoach model so that I would have something to put into the carriage house. At the beginning of assembly it looked like it was going to just fit, but then I put the front seat on and, well...


So I've set it aside for now. Once I actually start laying out the buildings I'm thinking there might be opportunity to "park" it somewhere. But now I'm back to trying to find a carriage that will fit inside.

Comments

Popular posts from this blog

Where I bought all of the things

Updated 8/28/2021 with new shops I've noticed: I have been afraid to start on this post because it means going back through SO MANY posts and Pinterest pins and who knows what else, but I also know it's something I can do because I can recall how difficult it was to find items when I was looking to source everything I needed for this project. So this is as complete a list as I can make it, which means it's probably not complete at all...there are certainly shops missing where I just forgot where I got things or purchased one item from an Etsy or eBay store. I hope it will still be helpful to folks, though! Shops are generally listed under the category where I got the most items from but if I got a lot from several categories they are cross-listed. I've also included some web sites that have been on my radar or used for other projects even if I didn't use them for this one. They're  noted as such. These are all 1:48 scale or O Scale unless otherwise noted. Please...

Setbacks and progress

I haven't posted in a while because I haven't really completed anything lately. I am still working away on both Butterwick Houses, but I thought I would at least post some pictures of work in progress. One of the tricky things with these houses has been figuring out my plan to build them. The reason for this is that they will eventually be joined in some fashion -- their balconies will connect to form the gallery. The bottom part of them needs to be in a stone finish, and I couldn't put the lower windows in until the stone finish was done around them. But the stone finish couldn't be completed until the upstairs was more complete and I attached the balconies. Add to this a whole lot of wallpaper and details which means I really need to work on the rooms from the bottom up without the upper floor in place for each room, and it became a real conundrum. Ultimately what I decided to do was to do part of the front stone, particularly around the windows. I'll then ha...

Real flagstone floors for quarter scale

One of the things I've been doing for all of the buildings in the project is using real stones for flagstone floors, which I think really gives it a more authentic feel. I get them from Stacey's Miniature Masonry , and I thought I'd post a tutorial here on how they're done. The stones and mortar (which Stacey's also sells) come with instructions, but I think it'll be handy to see photos of the process. I like to lay down a coat of paint before starting, to give the stones something better to stick to, although there won't be any gaps once it's done. Then the first step of laying the floor is to glue all of the stones down with PVA adhesive (tacky glue). The recommended way to do it is to plan them all out in advance, but I don't have patience for that so I usually just wing it! That's probably how they did them back then anyway, right? At some point you'll probably need to cut a stone or two in half to get ones that fit your last remainin...